5 Simple Performance Tests Every Climber Should Try (Ego Not Included)
You climb. You train. You own at least three different chalk bags and an opinion about tape. So you must be fit, right? Well, maybe. The trouble is that "fit" means something different to a gym boulderer, a comp athlete and someone who spends weekends hanging off sandstone. Each can be excellent inside their own bubble and embarrassingly average outside it.
The climbing grade is a decent scoreboard, but it's a terrible diagnostic. It tells you what you sent, not why you fell off the thing next to it. To train intelligently you need a baseline: numbers you can write down, repeat and compare. Numbers don't care about your Instagram highlights. Here are five tests that give you exactly that.
Before you test anything: the ground rules
A test is only useful if it's repeatable. If you do the 14 mm test fresh on Monday and exhausted on Friday after a two hour session, you haven't measured your fingers, you've measured your excuses. Follow these rules for every test below:
- Warm up properly. Roughly 20 to 30 minutes: easy climbing, mobility, then progressively harder hangs. Cold tendons and maximal effort are a poor romantic pairing.
- Test fresh. Take at least one full rest day beforehand, and do the test at the start of a session, not the end.
- Standardize everything. Same board, same edge, same time of day, same rest periods. Change one variable and your comparison is meaningless.
- Write it down. A result you didn't log never happened. Use the printable logs or a notebook, but log it.
- Stop if it hurts. Sharp finger pain is not a personality trait. End the test.
1. The 14 mm test
What it measures: finger strength on a small edge, in relation to your bodyweight.
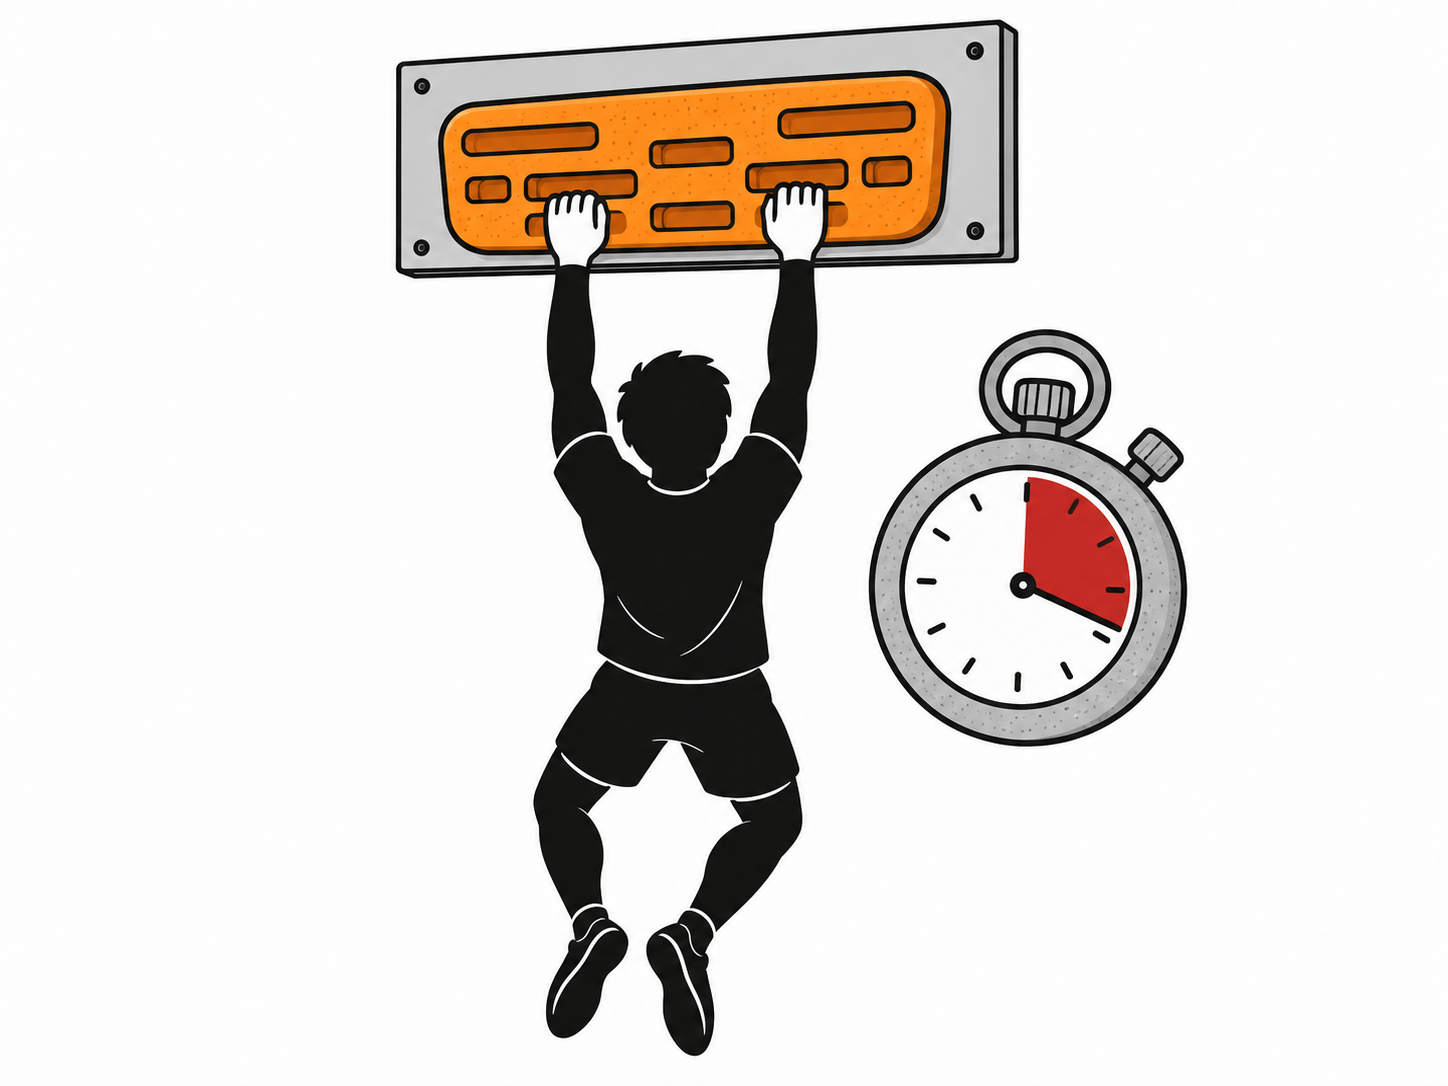
How: Pick a 14 mm edge (a progression fingerboard is ideal). Dead hang with both hands, arms nearly straight but shoulders engaged, so you aren't hanging from your ligaments like a wet coat. Record how long you can hold, or if you can already hold it comfortably for 10 seconds, record the added weight you can hang with for a 10 second attempt. Do three attempts with 3 minutes of rest between them and log the best.
Technical note: if you can't hold 14 mm for even five seconds, use a larger edge or reduce load by keeping a toe on a chair or using a pulley. Don't try to be a hero; a smaller edge you can't hold just measures how badly you want to be somewhere else.
2. The 6 set route test
What it measures: how you perform and fade across repeated hard efforts on the same climbing.
How: Choose one route or circuit that's hard for you but not impossible. Climb it six times. On each set, give it a true send effort, as if it were your project and you had one clean go. Fall? Get back on the wall within 10 seconds. Count the falls and the moves reached on each set.
Reading the results: most people discover a pattern. Some peak on set two and crumble after set four (you warm up slowly and tire quickly). Others start badly and get better (you're under-warming). The shape of the curve tells you how much volume and intensity to prescribe in training. If your fourth set is your best, congratulations: your warm-up was two sets too short.
3. The max pull-up test
What it measures: pulling power and endurance relative to bodyweight.
How: Do as many strict pull-ups as you can in one minute. Chin over the bar, arms fully extended at the bottom. No kipping, no half reps, no counting the ones where your chin was "basically there". Rest as needed hanging, but the clock keeps running.
Progressions: once bodyweight gets easy, change the hold to a smaller one, or add weight with a belt, and keep the setup identical from test to test. The test doesn't tell you how good a climber you are. Plenty of pull-up machines can't climb 6a. But it does expose whether your pulling is the bottleneck.
4. The bar lock test (BloT)
What it measures: isometric strength in the locked-off position, the one you rely on for every long reach on steep ground.
How: Pull up to a full lock with your chin over the bar. Release one hand and hold the one-arm lock-off as long as you can. Time it. Do each arm, and record the weaker side. If a one-arm hold isn't possible yet, time a two-arm lock-off at a 90 degree elbow angle instead.
This test is humbling, mostly because it separates the climbers who think they have strong arms from those who do. Re-test monthly and compare left to right. A big asymmetry is useful information, and it's usually not a flattering one.
5. The 20/2 boulder challenge
What it measures: volume tolerance, style strengths and whether you fail from strength or from endurance.
How: Choose 20 problems at your gym, or set your own, and give yourself a 120 minute time box. The goal is to complete all 20. Then record your top three. Rest as you naturally would, no rushing, but the clock is the boss.
Reading the results: if you fail on hard individual moves early, strength is your limiter. If you can do the moves but fall apart on the last ten problems, you have an endurance problem. Note the styles you dispatched easily and the ones that sent you to the water fountain to reflect on your life choices. That list is your training plan.
How often should you test?
Every 6 to 8 weeks is a sensible interval, aligned with the end of a training block. Testing weekly is just gambling with extra steps: changes in a week are mostly noise from sleep, stress and coffee intake. Between tests, train. Then retest under identical conditions and compare.
The path to performance is boringly simple: test, train, repeat. Get the evaluation templates and logs in the Training Worksheet Pack, which includes 20 printable trackers, plans and evaluations. No more faking it.